/ Product information
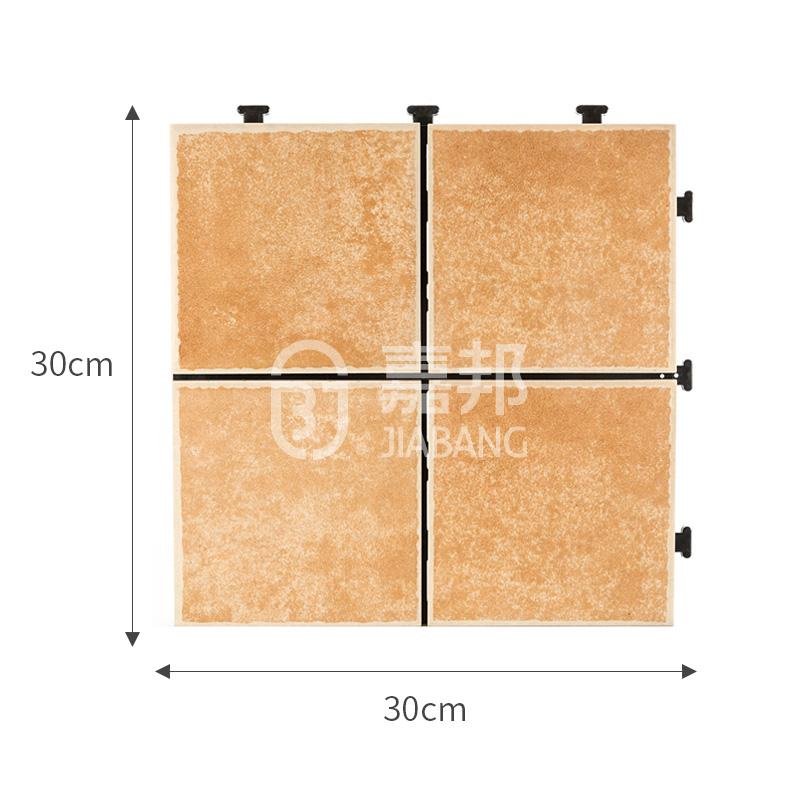
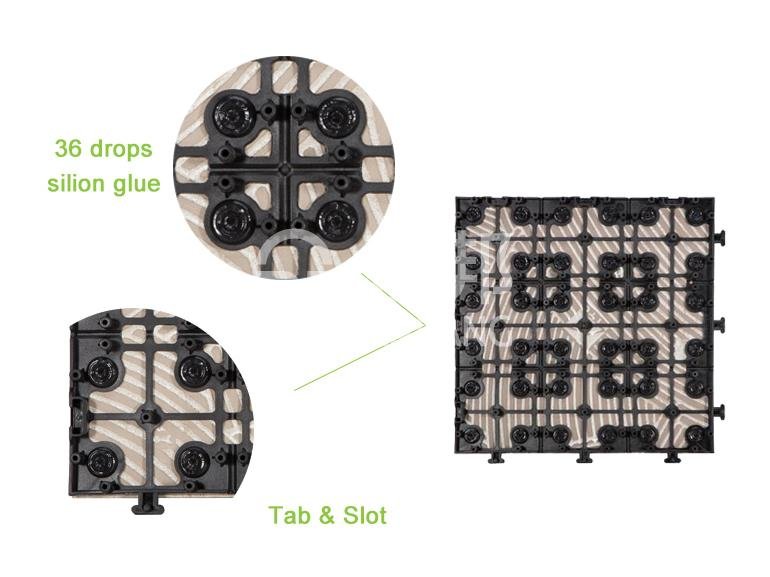
Plastic deck tiles is an innovative product compare with the traditional tile, combined polystyrene and new PE plastic base by 32 drops galvanized screw. It is an ideal choice for garden flooring. The polysterene has natural woodland surface, available for different color. no maintanence, quick installation, no tools, no adhesive needed.
Specification
Product name
Color
white
Material
Polysterene, PE
Size
30*30cm
Thickness
2.7cm
N.W
0.95 KG
1 square meter
around 11 pcs
Certificate
CE, ROHS, REACH
Application
Outdoor like garden, patio,balcony,terrace, sunroom,etc.
Optional package
brown carton, color box, shrinkage film, window box, display box, pallets,etc.
/ Product details
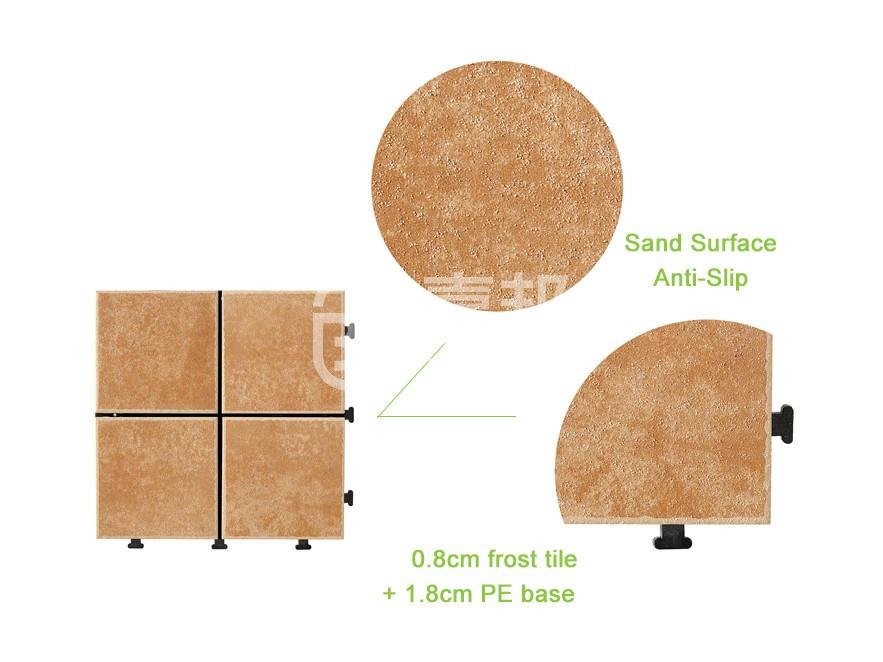
Top material
Using A grade full-body
ceramic tiles, anti-slip surface, durable and stable.
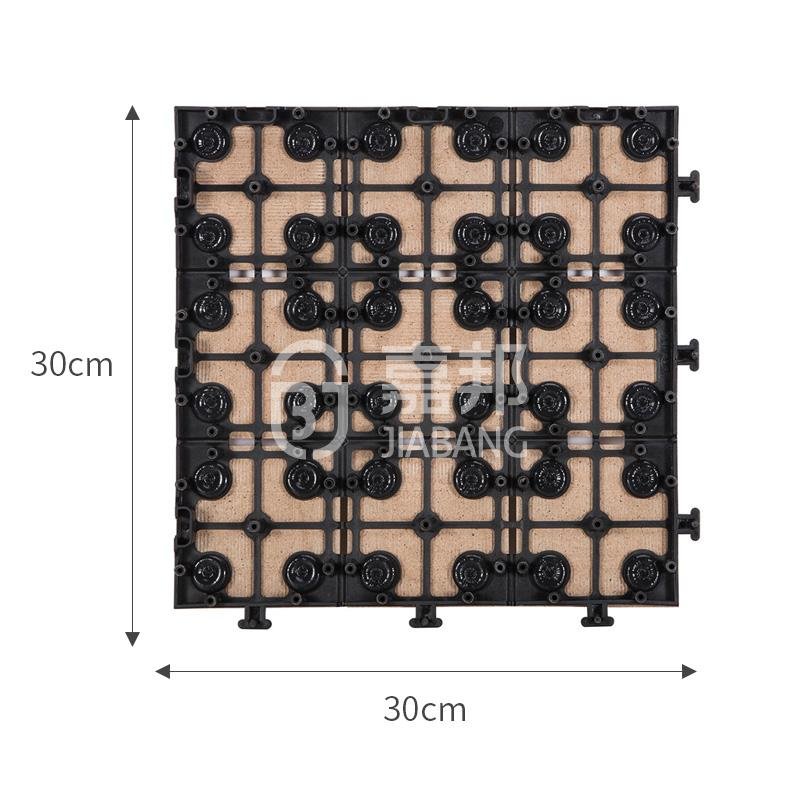
Plastic base
Total new PE material plastic base, 36 pcs drops silicon glue, more stable and not easy come out. With creative tab & slot buckle, easy install like play with kids block.
/ Project display
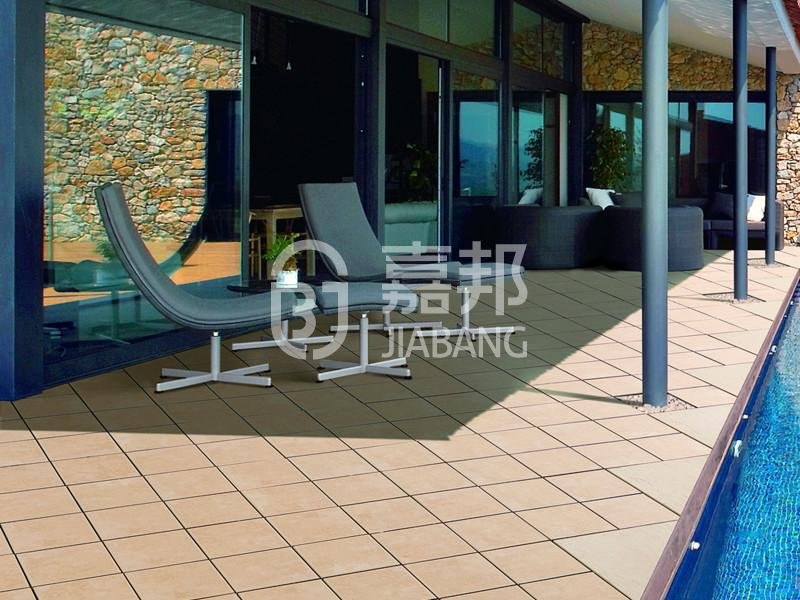
For swimming pools
.
Anti slip frost ceramic deck tile N044 for swimming pools
For rooftops
.
Anti slip frost ceramic deck tile N044 for rooftops
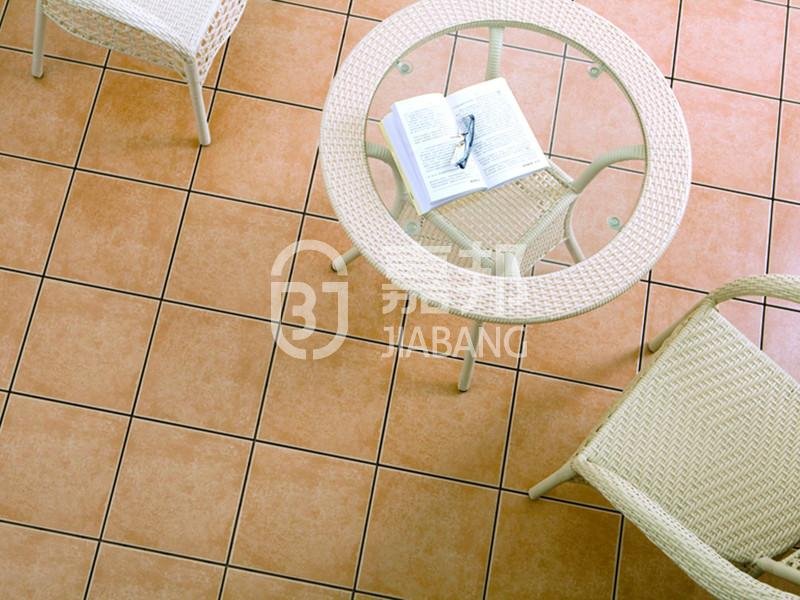
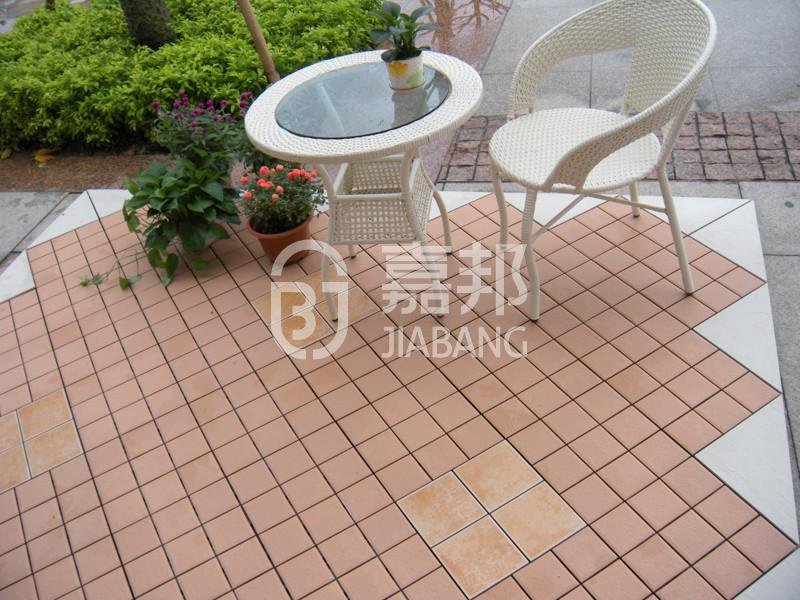
For terrace
.
Anti slip frost ceramic deck tile N044 for terrace
/ Installation
No Special Tools Required
You don't need any adhesives, tiles spacers or grout or to lay Decking Tiles. Everything you need for a quick and easy installation is included in each box.
Step 01
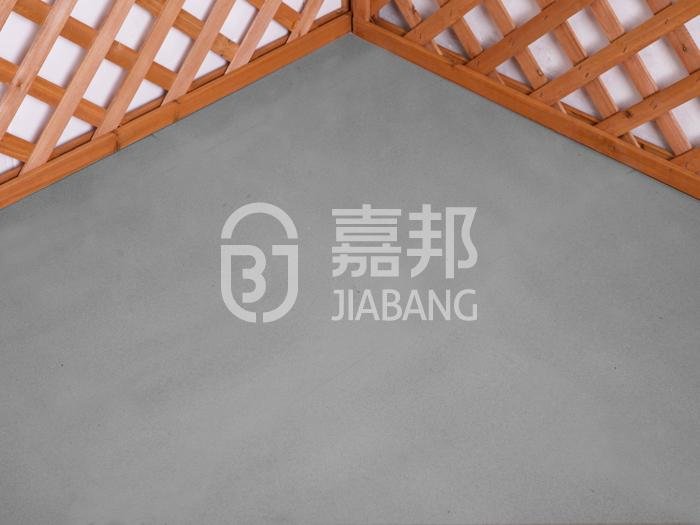
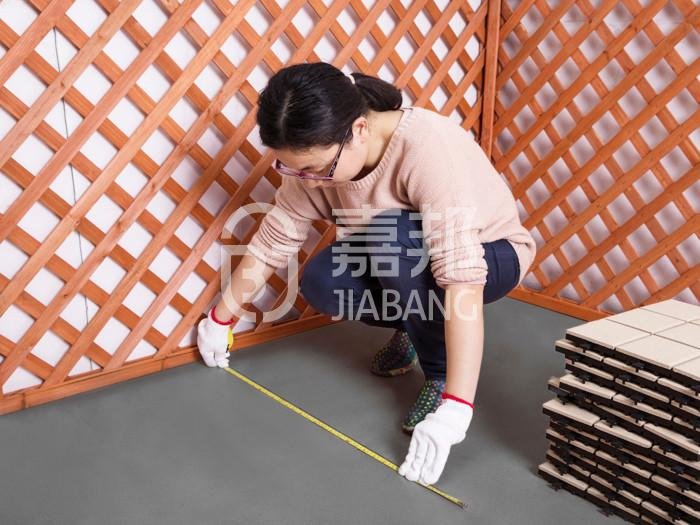
Prepare the Surface
Interlocking Tiles can be placed on most hard surfaces. However, it's important that the surface is as smooth as possible, with no bumps, large cracks, uneven areas or surface depressions that would allow the
Decking Tiles to "rock" in place. If the surface is particularly uneven, you may need to level the surface with some patching compound or filler. We do not recommend the installation of Inter Locking Tile on bare ground.
Step 02
Plan Your Design
It's easy to create unique patterns, designs and borders by using a combination of different tile styles. You can sketch your design on paper to try various design combinations. The possibilities are endless!
Step 03
Lock the Tiles into Position
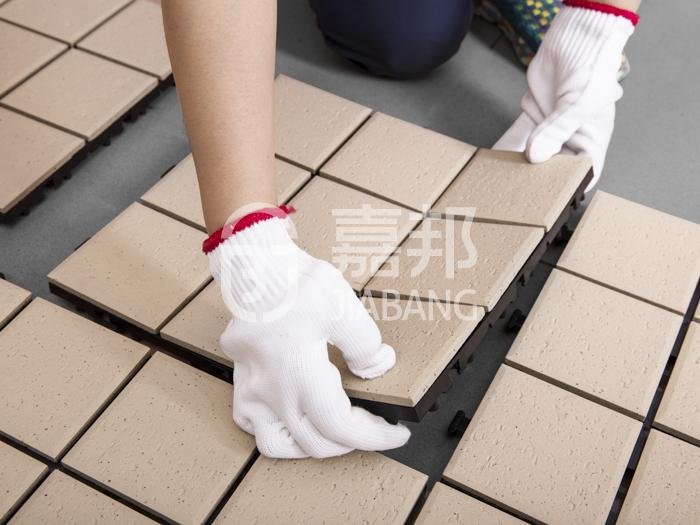
Start by placing an Interlocking Tile in the corner of the area that you want to cover, making sure the two sides of the tile with the tabs showing are facing outwards in the direction you will be laying the tiles. Place the edge of the next tile without the tabs showing over the black connecting tabs so these tabs lock into position with the corresponding slots on the underside of the second tile. Repeat this simple "lock in place" process with the remaining tiles, working in a diagonal direction across your entire design.
Step 04
Completing Your Project
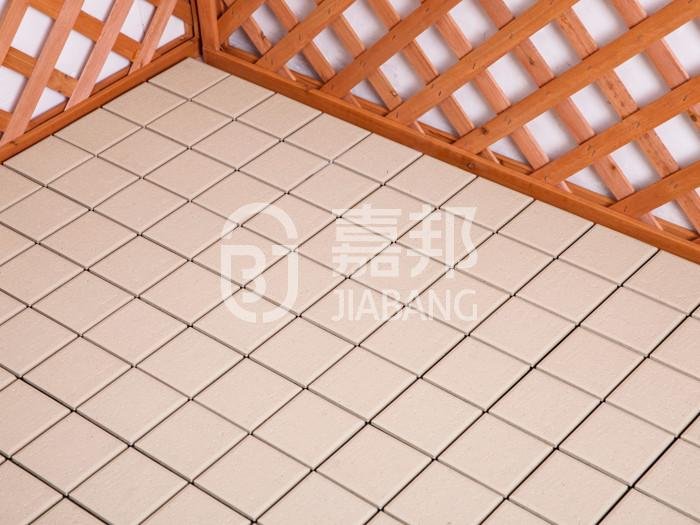
You can generally avoid cutting Interlocking Tiles where you need to fit around fixed objects, odd shaped areas or against walls simply by filling in the gaps or spaces with medium sized pebbles, volcanic rock or other landscaping material.
/ KEY FEATURE
 Easy
install
Quick and easy install, no skills
needed.
 No
Maintenance
No Maintenance needed.
 Water
drainage
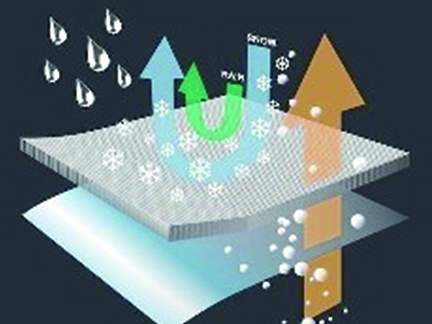
Non slip surface, perfect water
drainage system.
 DIY
concept
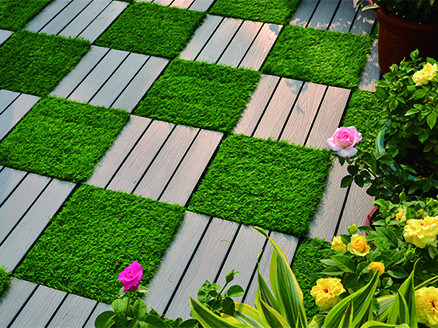
Available in wide range of
materials.
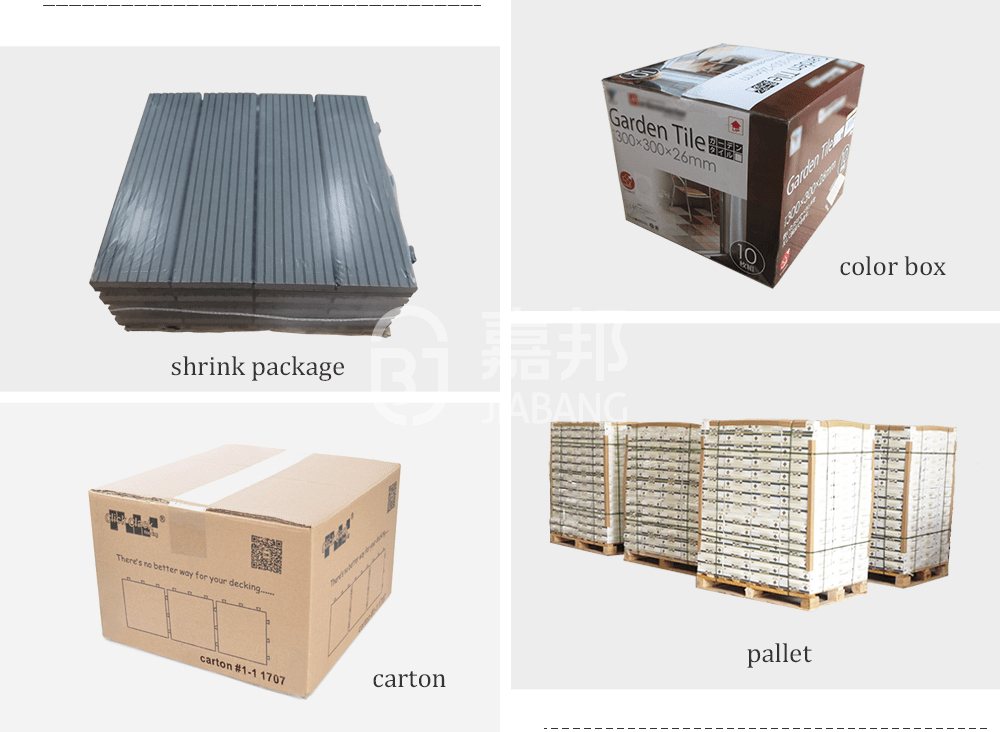
/ PACKAGE
We offer wide range packing method to fullfill
various customers different requirement.
carton, color box, shrinkage film, pallet,
display box, or other tailor made package.
/ CERTIFICATE
/ Project display
For swimming pools
.
Anti slip frost ceramic deck tile N044 for swimming pools
For rooftops
.
Anti slip frost ceramic deck tile N044 for rooftops
For terrace
.
Anti slip frost ceramic deck tile N044 for terrace
/ Installation
No Special Tools Required
You don't need any adhesives, tiles spacers or grout or to lay Decking Tiles. Everything you need for a quick and easy installation is included in each box.
Step 01
Prepare the Surface
Interlocking Tiles can be placed on most hard surfaces. However, it's important that the surface is as smooth as possible, with no bumps, large cracks, uneven areas or surface depressions that would allow the Decking Tiles to "rock" in place. If the surface is particularly uneven, you may need to level the surface with some patching compound or filler. We do not recommend the installation of Inter Locking Tile on bare ground.
Step 02
Plan Your Design
It's easy to create unique patterns, designs and borders by using a combination of different tile styles. You can sketch your design on paper to try various design combinations. The possibilities are endless!
Step 03
Lock the Tiles into Position
Start by placing an Interlocking Tile in the corner of the area that you want to cover, making sure the two sides of the tile with the tabs showing are facing outwards in the direction you will be laying the tiles. Place the edge of the next tile without the tabs showing over the black connecting tabs so these tabs lock into position with the corresponding slots on the underside of the second tile. Repeat this simple "lock in place" process with the remaining tiles, working in a diagonal direction across your entire design.
Step 04
Completing Your Project
You can generally avoid cutting Interlocking Tiles where you need to fit around fixed objects, odd shaped areas or against walls simply by filling in the gaps or spaces with medium sized pebbles, volcanic rock or other landscaping material.
/ Other details
We offer wide range packing method to fullfill various customers different requirement.
carton, color box, shrinkage film, pallet, display box, or other tailor made package.

/ Certificate
/ after sales service
E-mail : postmaster@diytile.net
Whatsapp : 008613679759862

 Easy
install
 No
Maintenance

 Easy
install
 No
Maintenance
 Water
drainage
 DIY
concept


